Wednesday, September 11, 2013

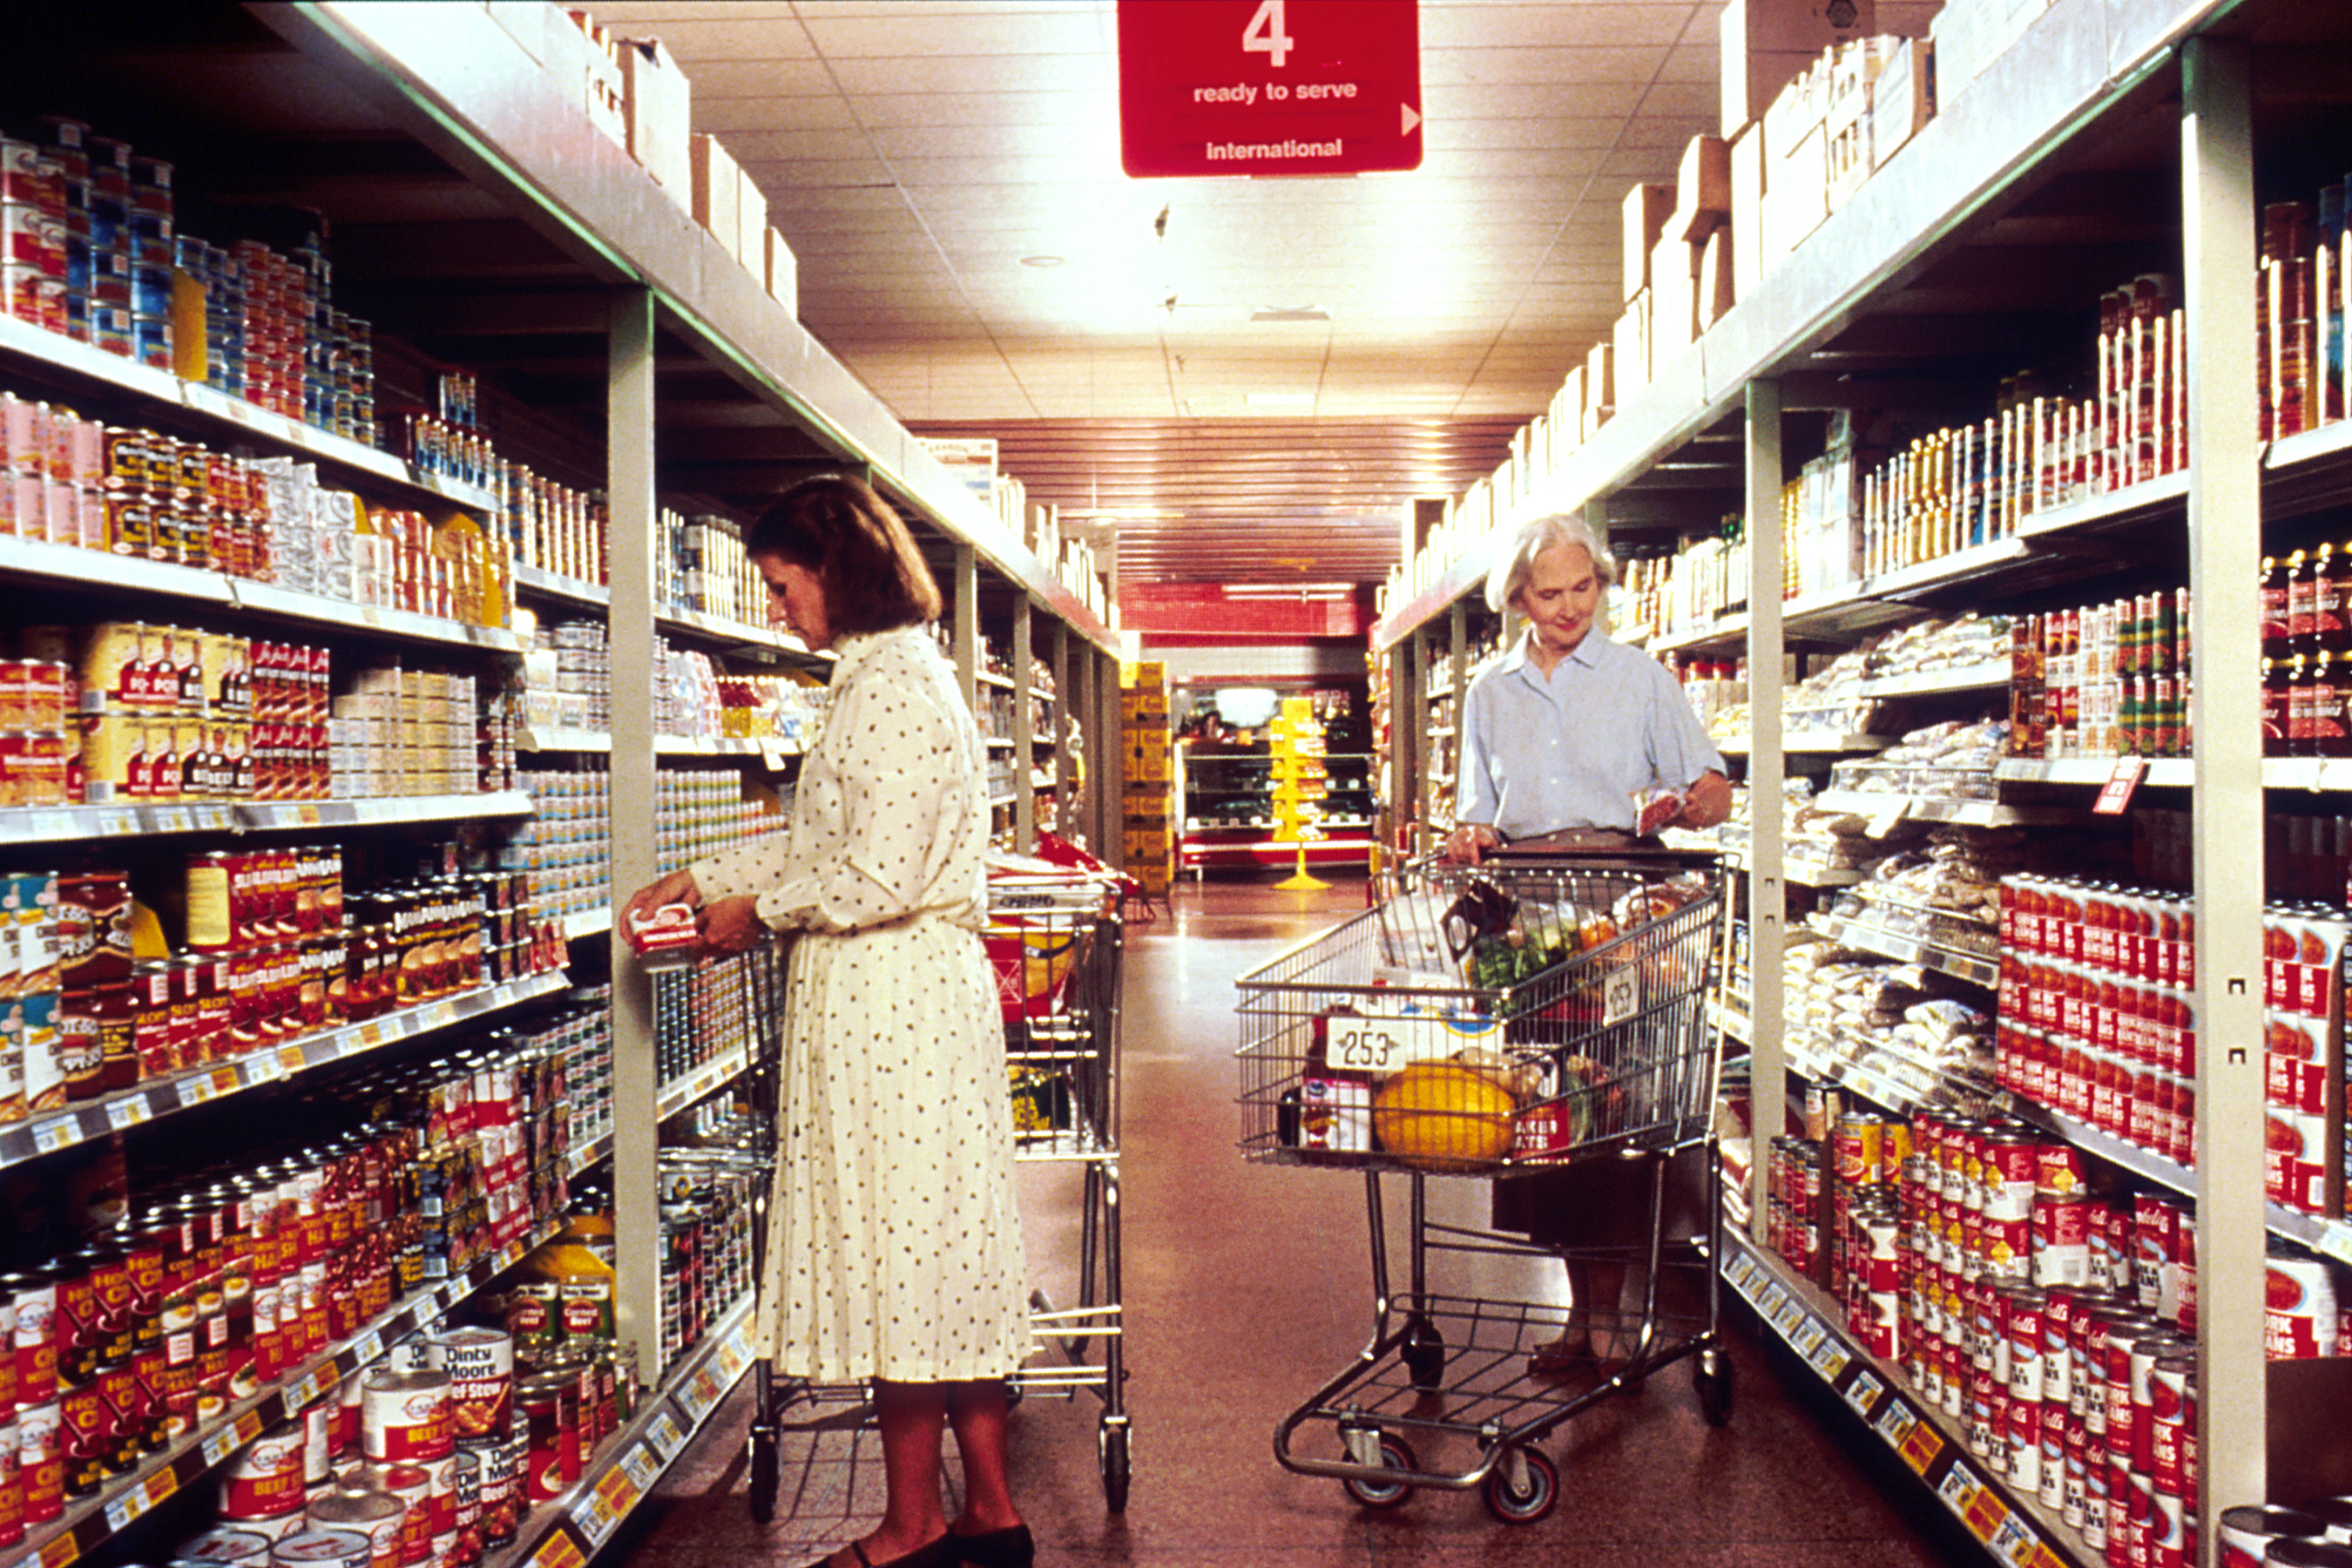
Grocery Shopping 101: How To Shop Effectively

Image courtesy of commons.wikipedia.org


Let's be real: we can't survive on take-out and fast food forever. Eventually, we all have to buy groceries and stock up our fridges, even if it's one of the least fun chores on our list.

Yes, there's a reason some people hate going to the store: grocery shopping isn't as easy as walking in and picking up what you like! Without a plan, it's easy to buy far more than you need or can even eat, resulting in potentially wasted food, otherwise known as wasted money.


Don't worry, though: following these tips from renters.apartments.com will make sure you budget properly, buy the right amount of food, and are well-stocked to get through the next week until your next grocery shopping trip.
 
Make a list: If you want to come home with food you’ll actually eat, it is essential to make a list. Plan out how many meals you’ll need for the week, taking into account any plans you already have to go out to lunch or have a family dinner. Making your list based on meals – breakfast, lunch, dinner, snacks – rather than food groups – meat, vegetables, grains – will mean less food going to waste at the end of the week.

Choose wisely: When planning out your meals, think about ingredients that can be used in more than one way. For example, if you want burgers one night and brats the next night, that means buying two kinds of buns. Instead, do burgers and chicken patties or sloppy joes, which can all use the same buns. Other ingredients that won’t be used up in one meal can also be used for multiple purposes – for example, use a dozen eggs to makepasta carbonara for dinner, omelets for breakfast, and brownies for dessert.

Avoid the crowds: Sunday afternoon is probably the worst time to shop; the store is crowded and the merchandise is picked over. Try shopping on a weeknight after work, or before noon on a weekend. You’ll be less stressed, have more selection, and have to spend less time in the store.

Seek out savings: Grocery bills can add up, especially if you don’t pay attention to sales and specials. Sign up for your store’s rewards program to get discounts as well as coupons for future trips. Many stores and food brands also have smartphone apps and online coupons that you can load straight onto your phone or loyalty card. And don’t overlook the store brand – you may be surprised how much they taste like your favorite brand, but for half the price.

Make it fun: If you really hate grocery shopping, try to find a way to make it fun for yourself. Some people get excited about savings, and others shop when they know there will be free samples throughout the store. Find a new recipe to try, buy yourself some flowers for the kitchen table, or reward yourself with a tub of ice cream or cookies from the bakery.

Wednesday, September 4, 2013

Organize Your Life


Feel like your life needs some more organization? Check out these tips to help get things back in line and boost the productivity of your common tasks! Learn more over at ZenBlog.


  1. 3 Most Important Tasks. Writing down and making mental note of my top 3 tasks to get done for the day. Everything else seems to fall into place if I do that.
  2. An easy and workable task list, or to do list. While I love all of these handy web 2.0 apps, computer software, very neat gadgets like palms and really cool cell phones, they just don’t work for me. I’m a lazy woman, with an even lazier attitude. I might put a task in Remember the Milk, another task in my palm, one in my Gcal and send another text to my phone. With all of these different ways of doing things, I end up spending much more time trying to organize my to do list, or consolidate it, that I don’t get much actually done.
  3. Keep ubiquitous capture device. It might not be the same device for every location (I have a moleskine for work, but use my mobile for inspiration on the fly) but just being able to write stuff down when you think about it is key for me.
  4. Choose one tool and stick with it.
  5. Do one thing at a time.
  6. Do it now.
  7. Make use of the word no.
  8. Use the recycling bin/trash basket. Organizing unnecessary items is wasted energy. It is amazing how much more in control I feel just by ridding myself of now outdated articles I’d like to read “someday,” or countless meeting notes from which relevant action items have already been extracted.
  9. A (good) place for everything, and everything in its place. By finding places that are easy to get to for all the things I use most often, and places that are pretty easy to get to for the things I use less often, I spend less time dreading doing things and more time actually doing things. And the place for things you never use is elsewhere (trash can, place that accepts donations, etc.).
  10. Simplify, simplify, simplify!
  11. Put it away now. The single, simplest thing I do to stay personally organized is to put whatever tool, item, clothing, bag, hairbrush etc., away immediately after using it. I always know where everything and anything is so I never waste time looking for something. Very efficient. I could tell a stranger where to find anything in my home.
  12. Keep a to-do list that syncs with your mobile phone (so you can add stuff as and when you remember it). And make sure every item has a due date.
  13. Change. It obsoletes unimportant things. It brings down any method or idea that isn’t timeless. It brings up newer and more important things that you and others can’t resist anymore. Best of all: it’s an organizing tool that operates itself. You simply have to embrace it.
  14. Divide material into red, yellow, blue and green plastic file folders. For example, anything that has to be done today (paperwork to be given to a client, bills to be mailed) go in the red folder. Contact material or anything related to customer field support goes in the yellow folder. Your mileage may vary as to how you organize your briefcase, and like me you may also have project-specific manilla file folders as well, but dividing stuff up into just four color coded folders is a huge help.
  15. Flylady.net. She helped me realize that I needed to apply GTD principles to my home life and not just work. I had work under control using checklists, projects and next actions. I tried the same system at home and failed. Then about a month ago I discovered flylady.net courtesy I believe one of your blog posts. Wow, what a difference. My house is clean and so is my desk at work. Many if not most of her basic ideas are just like GTD in a slightly different perspective (control journal, baby steps) and also concrete methods for accomplishing next actions (2 minute hot spots, 15 minute timers). Her most useful tip was to put my daily/weekly lists into shiny page protectors in my control journal. I use a dry erase marker and voila no more killing trees or not doing my list because I can’t print it (or want to avoid the hassle). The best thing about this, I am more relaxed, my blood pressure is finally dropping and I feel less stressed.
  16. Unapologetically take control of your time and priorities.
  17. Sort at the source. My favorite organizational tool is my post office box. I visit it once a week (usually Saturday), stand at the counter in the lobby and sort my mail. I use the P.O.’s trash bin. What comes into my house is only what I need to have. Bills and letters and checks go into my inbox (which by the way is a box with a lid that is wrapped in lovely fabric and has a yellow bow on it so it looks like a present sitting on my desk). Reading material goes on the table by my chaise lounge which is where I do all my reading.
  18. A sheet of paper, a calendar and a white board. I’ve found that the easiest way to organize myself, my days and so forth is a good paper calendar, a sheet of paper that I divide into four sections and a medium sized white board. For my paper the top left section is my actual running to do list for today. The top right section is my running grocery list, or list of things I must purchase. The bottom left is for notes such as calls I made, who I spoke to, appointment dates. The bottom right is whatever I need to move to another day. If I’m told to call back on Monday, then I note that on the calendar. As for the white board, the kids can make notes (Can I spend the night at Brian’s on Friday? Grandma called), and I can jot down things as I think of them to be added to tomorrow’s to do list. My calendar, and the white board are in the same location, so I can transfer short notes if need be. I carry my paper task list with me everywhere, so I can make notes at any given moment.
  19. Color coding. I’m a visual person, and I find that color-coding my various lists and calendars minimizes the time I have to spend looking at them. This worked especially well when I was in school: I dumped every class syllabus into Outlook, and then color-coded every class period (blue for paper due, yellow for quiz, red for test, etc). It took awhile to set up, sure, but then for the rest of the semester I only had to glance at Outlook to get a very clear idea of what kind of week I was going to have.
  20. One binder. I use a binder cleverly labeled “@ 2007″ with the following divisions:
    • @ Today – With my Emergent Task Planner from davidseah.com;
    • @ Week – The remaining days of the week ETP’s as a skeleton;
    • @ Year – All my historical sheets;
    • @ Diet – Which tracks what I have eaten for the day;
    • @ Fitness – Which tracks my workout routine for the day. My binder is with me all the time and it has helped me become a better employee, family member and relationship guy.
  21. Write down, execute and tidy up on the way. These are is my organization bible. I’ve been living that way since more than two years and I can say that I’m an organized person.
  22. A little whiteboard on my bedroom wall. I have it separated into two sections, a “todo” and a “today”. “Todo” is a list of general things I have to do, like get my car inspected, buy someone a present, etc. Then “today” is what I need to do, obviously, today! Things can be moved back and forth as appropriate. I find having a specific list for today helps push me to get the important things done in a timely manner. I also keep two things permanently on the “today” part, which are meditation and exercise. This seems to help.
  23. Note cards. One can write tasks on them — one per card, or in a list (depending on the type of task in question; I do both). When doing one per card, the stack serves as an easy prioritization scheme. But wait, there’s more: They can be arranged on cork boards, shared, annotated, torn up and rearranged. They can be used as placeholders, as mini-white boards and as tokens to model ideas. They are easy to carry around, and to attach to other documents. Further, different colors allow for a visual representation of different kinds of todo’s (as can different annotations). Finally, they are cheap and most importantly of all: easy (much easier than software) to reconfigure as needs and projects change.
  24. Never rely on a single point of failure. I’ve seen people pay $1,000 to hear speakers at a conference and only have one pen to take notes. It’s a great feeling when one thing breaks, gets lost, or runs out of power, and you have another one in reserve!
  25. Have.. less.. stuff.
  26. Delegate. Learn to trust people with critical tasks in all areas of your life. When you learn to effectively delegate tasks you actually find that it is easier to keep the stuff you cannot delegate better organized.
  27. You control your life. Whatever electronics or paper you use, make them work for YOU not the other way around. Does Outlook really have to stay checking your email every 5 minutes? Maybe, but I bet you’ll get a whole lot more done if you check it a few times per day. That goes for the Blackberry too! After all, there are so many tools, and one to fit everyone – so use what works, but make it work for you!

Wednesday, August 28, 2013

Recipe: Frozen Single-Serve Oatmeal with Almonds & Dried Cherries

Wake up. Shower. Get dressed. Get moving! If your mornings are a hectic blur of hustling to get out the door then we've got something for you. Shave some minutes off your morning routine with "Recipe: Frozen Single-Serve Oatmeal with Almonds & Dried Cherries" to make your food grab-and-go!

Recipe: Frozen Single-Serve Oatmeal


Frozen Single-Serve Oatmeal with Almonds & Dried Cherries

Makes about twelve 1/3-cup pucks (4 to 6 servings)
2 cups old-fashioned rolled oats
3 1/2 cups water
1/8 teaspoon salt
Honey, brown sugar, agave or other sweetener, to taste (optional)
1/2 cup dried cherries
1/3 cup almonds, roughly chopped
2 tablespoons shelled pumpkin seeds (pepitas)
Lightly grease a standard muffin pan and set aside. (No need to grease if you are using a nonstick pan.)
Combine the oats, water and salt in a saucepan and bring to a boil. Cook, stirring frequently, until soft and ready to eat, 3 to 5 minutes. Mix in sweetener of choice, if using. Divide the oatmeal evenly into the cups of the muffin pan. Top with the cherries, almonds and pumpkin seeds, pressing lightly to make sure they are embedded in the oatmeal.
Place the muffin pan in the freezer until oatmeal is fully frozen, at least 3 hours. Remove and allow to thaw slightly, until the oatmeal can be popped out of the pan with an offset spatula or a thin butter knife. (You can dip the bottom of the pan in warm water to speed the process.) Wrap the oatmeal in freezer-safe packaging and freeze.
To eat, remove the desired number of pucks and warm in a bowl in the microwave for 1 to 2 minutes.

Recipe Notes

  • Steel cut oats can be used in place of rolled oats. Adjust the amount of water and cooking time according to package directions.
  • Any combination of nuts, dried fruit or seeds can be used on top of the oatmeal.
(Images: Anjali Prasertong)


Original Article Here: http://www.thekitchn.com/recipe-frozen-singleserve-oatmeal-recipes-from-the-kitchn-193961

Wednesday, August 21, 2013

How to Make Homemade Ricotta Cheese

Step one: Go to the store. Step two: Get Ricotta Cheese. Step three: Buy it.

Simple, but uninspired. If you're up for using a little elbow grease, then why not make your own Ricotta Cheese? Check out "How to Make Homemade Ricotta Cheese" and get the 'homemade' taste you can't find in a store.

How to Make Homemade Ricotta Cheese


How to Make Homemade Ricotta

Makes 2 cups

What You Need

Ingredients
1/2 gallon whole milk, not UHT pasteurized (see Recipe Notes)
1/3 cup lemon juice (from 1 1/2 to 2 lemons), 1/3 cup distilled white vinegar, or 1/2 teaspoon citric acid (available from cheese-making suppliers)
1 teaspoon salt, optional
Equipment
4-quart pot
Instant read thermometer or candy thermometer
Measuring spoons
Cheese cloth
Strainer
Mixing bowl
Slotted spoon

Instructions

  1. Warm the milk to 200°F: Pour the milk into a 4-quart pot and set it over medium heat. Let it warm gradually to 200°F, monitoring the temperature with an instant read thermometer. The milk will get foamy and start to steam; remove it from heat if it starts to boil.
  2. Add the lemon juice and salt: Remove the milk from heat. Pour in the lemon juice or vinegar (or citric acid) and the salt. Stir gently to combine.
  3. Let the milk sit for 10 minutes: Let the pot of milk sit undisturbed for 10 minutes. After this time, the milk should have separated into clumps of milky white curds and thin, watery, yellow-colored whey — dip your slotted spoon into the mix to check. If you still see a lot of un-separated milk, add another tablespoon of lemon juice or vinegar and wait a few more minutes.
  4. Strain the curds: Set a strainer over a bowl and line the strainer with cheese cloth. Scoop the big curds out of the pot with a slotted spoon and transfer them to the strainer. Pour the remaining curds and the whey through the strainer. (Removing the big curds first helps keep them from splashing and making a mess as you pour.)
  5. Drain the curds for 10 to 60 minutes: Let the ricotta drain for 10 to 60 minutes, depending on how wet or dry you prefer your ricotta. If the ricotta becomes too dry, you can also stir some of the whey back in before using or storing it.
  6. Use or store the ricotta: Fresh ricotta can be used right away or refrigerated in an airtight container for up to a week.

Recipe Notes

  • Whole vs. 2% vs. Non-Fat Milk: While whole milk is our favorite for making ricotta, 2% milk can also be used, though the ricotta is slightly less rich and creamy. Avoid using skim and nonfat milks; these don't separate as easily into curds and whey.
  • Pasteurized Milk: Pasteurized milk is fine to use for making ricotta, but avoid UHT (Ultra High Temperature) pasteurized milk as this process changes the protein structure of the milk, preventing it from separating.
  • Making Fresh Ricotta Salata: If you'd like to make a fresh farmer's cheese (ricotta salata) from this ricotta, wrap it in cheese cloth and press it beneath a weighted plate in the refrigerator overnight.
  • Using the Leftover Whey: The leftover whey can be used in place of water in any baking recipe, whizzed into smoothies, or drunk on its own over ice.
Want more smart tutorials for getting things done around the home?
See more How To posts
We're looking for great examples of your own household intelligence too!
Submit your own tutorials or ideas here!
This post and recipe have been updated. Originally published 5/21/07.
(Images: Emma Christensen)


Original Article Here: http://www.thekitchn.com/how-to-make-homemade-ricotta-cheese-23326

Wednesday, August 14, 2013

The Best Way to Keep Guacamole Green

All you guacamole aficionados out there know that guacamole that isn't green isn't up to par. If you've ever had trouble keeping guacamole green when stored then check out "The Best Way to Keep Guacamole Green" for a little secret that can help you out!


The Best Way to Keep Guacamole Green

  1. Make your guacamole (we recommend Sara Kate's recipe). Put the guacamole in a bowl that has a tight-fitting lid. Pack the guacamole tightly in the bowl, pressing out any air bubbles.
  2. Dribble in some lukewarm water. I like to fill a measuring cup and pour it gently down the sides. Make sure the water covers the surface of the guacamole. I use about 1/2 inch of water.
  3. Put on the lid and refrigerate for up to 3 days.
  4. When ready to eat, take off the lid and and gently pour out the water.
  5. Stir up the guacamole to incorporate any extra moisture. 
The Best Way to Keep Guacamole Green
(Images: Faith Durand)


Original Article Here: http://www.thekitchn.com/the-best-way-to-keep-guacamole-green-tips-from-the-kitchn-193462

Wednesday, August 7, 2013

3 Ways to Prevent Sautéed Greens from Clumping in the Pan


Sautéed greens can be an excellent addition to many dishes, not just for their health benefits, but also for taste. Sometimes though, they can sort of clump up in the pan making it pretty difficult to effectively use them in a dish. Have no fear! Check out "3 Ways to Prevent Sautéed Greens from Clumping in the Pan" below!

3 Ways to Keep Sautéed Greens from Clumping


1. Slice Greens into Thin Ribbons
My first trick is to chop the greens into very thin, short ribbons before adding them to the dish. I usually cut them in half through the stem, stack them on top of each other, and then cut them in half again along the length before slicing them crosswise into thin strips.
2. Add Greens as the Last Ingredient
I also add the ribbons as the very last ingredient and stir them gently into the rest of the dish as they start to wilt. This way, the ribbons wilt around the other ingredients as they cook instead clumping up. Because they're so fresh this time of year and because we've sliced them so thinly, they only take a few minutes to steam to perfection.
3. Don't Overload the Dish with Greens
And finally, although I am usually of the opinion that if some greens are good thenMOAR GREENS! are better, I have to restrain myself if I really want to avoid big clumps in my dish. When the proportion of greens is significantly greater than the other ingredients in the dish, those greens just tangle together in unavoidable clumps. I've found that a half bunch of greens is usually a good amount for an average dish that serves four to six adults.
These strategies aren't quite perfect. I still find myself teasing a few clumps apart as I'm serving — C'est la vie!
Do you have this problem with wilted greens too? What do you do?
(Image: Emma Christensen)


Original Article Here: http://bit.ly/16YpGi7

Wednesday, July 31, 2013

Summer Dinner Party Ideas That Don't Involve Grilling?

Holding a dinner party can be a lot of work, but getting ready for guests doesn't have to be quite as hard, especially if you find a way to skip breaking out the barbecue in favor of an easier to prepare, yet still delicious food. What are your favorites? Click through to the main article for answers from others!


Q: I LOVE to cook and I would like to throw a summer birthday dinner party. Only bad thing — my birthday is usually during the hottest week of the year and I would prefer to NOT showcase barbeque cooking. Any suggestions?
Sent by Jenni
Editor: Jenni, if you are looking for something more interactive, setting up an avocado bar is a fun and summer-friendly idea:
Readers, do you have any suggestions for hot-weather dinner party menus that don't involve the grill?

Next question?

(Image: Joy the Baker)


Original Article Here: http://bit.ly/1bDy0KO

Twitter Delicious Facebook Digg Stumbleupon Favorites More